Apple Cider Vinegar
Apple Cider Vinegar: What It Is, Why People Love It, and How to Make It at Home
Apple cider vinegar (ACV) has been a kitchen and household staple for centuries. Today it’s found in salad dressings, wellness routines, and cleaning cabinets alike. This guide covers what apple cider vinegar is, how it’s used, and how to make it at home from just a few ingredients.
What Is Apple Cider Vinegar?
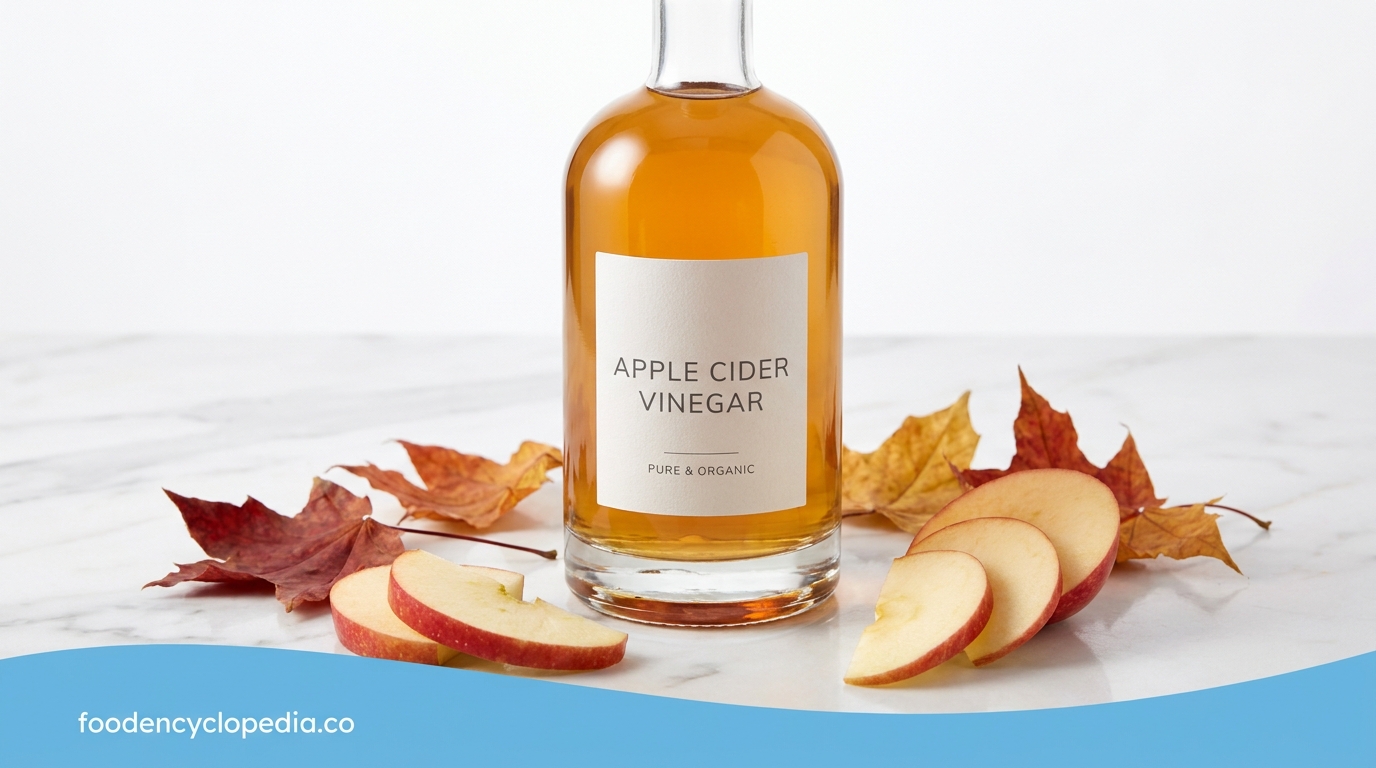
Apple cider vinegar is a tangy, amber-colored liquid made by fermenting apple juice or crushed apples. The process has two stages:
- Alcoholic fermentation: Yeast converts the natural sugars in apples into alcohol, creating hard cider.
- Acetic fermentation: Acetic acid bacteria convert that alcohol into acetic acid, the compound that gives vinegar its sharp smell and sour taste.
Most store-bought ACV contains about 5% acetic acid. Raw, unfiltered ACV often contains “the mother,” a cloudy collection of proteins, enzymes, and beneficial bacteria that settles in the bottle and is a sign of minimally processed vinegar.
Common Uses for Apple Cider Vinegar
In the kitchen
- Salad dressings and vinaigrettes
- Marinades for meat and vegetables
- Quick pickles and slaws
- Barbecue sauces and chutneys
- A splash to brighten soups and stews
For wellness
Many people drink diluted ACV as part of a daily routine. Some small studies suggest vinegar may modestly help with blood sugar response after meals, but research is limited, and ACV is not a cure for any condition. Talk to your doctor before using it for health purposes, especially if you take medication for diabetes or heart conditions.
Around the home
- A natural all-purpose cleaner when diluted with water
- A rinse for removing residue from fruits and vegetables
- A fabric softener alternative in the laundry
Safety tip: Never drink ACV undiluted. Its acidity can irritate your throat and wear down tooth enamel. Mix 1 to 2 teaspoons into a large glass of water and rinse your mouth afterward.
How to Make Apple Cider Vinegar at Home
Homemade ACV is inexpensive, uses kitchen scraps, and is a good beginner fermentation project. It takes patience, but most of the time is hands-off.
Ingredients and Equipment
- 4 to 6 organic apples (or the cores and peels from about 6 apples)
- 1 quart (about 1 liter) of filtered or non-chlorinated water
- 1/4 cup (50 g) of sugar
- A clean 2-quart wide-mouth glass jar
- A breathable cover (cheesecloth, a coffee filter, or a clean cotton cloth)
- A rubber band or jar ring
- A fine-mesh strainer
- Optional: 2 to 3 tablespoons of raw ACV with the mother, to speed things up
Step-by-Step Instructions
1. Prepare the apples. Wash the apples well and chop them into small pieces. Leave the skins on, since they carry natural yeasts. You can use whole apples or just the scraps.
2. Dissolve the sugar. Stir the sugar into the water until it fully dissolves.
3. Fill the jar. Place the apple pieces in the jar, filling it about three-quarters full. Pour in the sugar water until the apples are completely covered. If you have raw ACV with the mother, add it now.
4. Keep the apples submerged. Exposed apples can grow mold. Use a clean fermentation weight, a small glass dish, or a zip bag filled with water to hold the pieces under the surface.
5. Cover and store. Secure the cloth over the jar with a rubber band. This keeps out insects and dust while letting air in. Store the jar somewhere warm (65 to 80°F / 18 to 27°C) and out of direct sunlight.
6. Stir daily for the first week. Use a clean spoon. You should see bubbles and notice a yeasty, slightly sweet smell as the apples ferment into alcohol.
7. Strain after 1 to 2 weeks. Once the apples sink and the bubbling slows, strain out and discard the solids. Pour the liquid back into the clean jar and cover it again.
8. Let it ferment for 3 to 6 more weeks. Stir once a week, and don’t use a tightly sealed lid. During this stage, a cloudy film or gelatinous layer may form on the surface. That is the mother, and it’s a good sign.
9. Taste test. After about 3 weeks, taste a small spoonful. When the flavor is as sharp and tangy as you like, it’s ready. If it’s still sweet, let it keep fermenting.
10. Bottle and store. Strain out the mother if you prefer (or keep it to start your next batch) and transfer the vinegar to glass bottles with lids. Store in a cool, dark place. Homemade ACV keeps for a year or more.
Troubleshooting
- White fuzzy, dry, or colorful mold: Blue, green, black, or fuzzy patches mean the batch is contaminated. Discard it and start over. A smooth, jelly-like film is the mother and is safe.
- No bubbling after a week: The room may be too cool. Move the jar somewhere warmer.
- Smells like nail polish remover: That’s a sign of too much acetic acid mixed with ethyl acetate. Let it ferment a bit longer and the smell usually mellows.
- Weak or flat flavor: Homemade vinegar’s acidity varies. Use it for dressings and cooking rather than for canning or pickling, which require a tested 5% acidity.
Frequently Asked Questions
Is homemade apple cider vinegar as strong as store-bought?
Not necessarily. Its acidity varies from batch to batch, so it’s best for everyday cooking and household use rather than preserving food.
What does “the mother” do?
It’s a natural byproduct of fermentation made up of acetic acid bacteria and cellulose. It’s harmless and can be used to start new batches.
How long does it take to make ACV?
Expect about 4 to 8 weeks from start to finish, depending on temperature and your taste preference.
Final Thoughts
Apple cider vinegar is versatile, affordable, and surprisingly easy to make. Whether you’re upgrading your salad dressings or reducing food waste by using apple scraps, a homemade batch gives you a rewarding hands-on introduction to fermentation. Start with a small jar, be patient, and enjoy the process.